

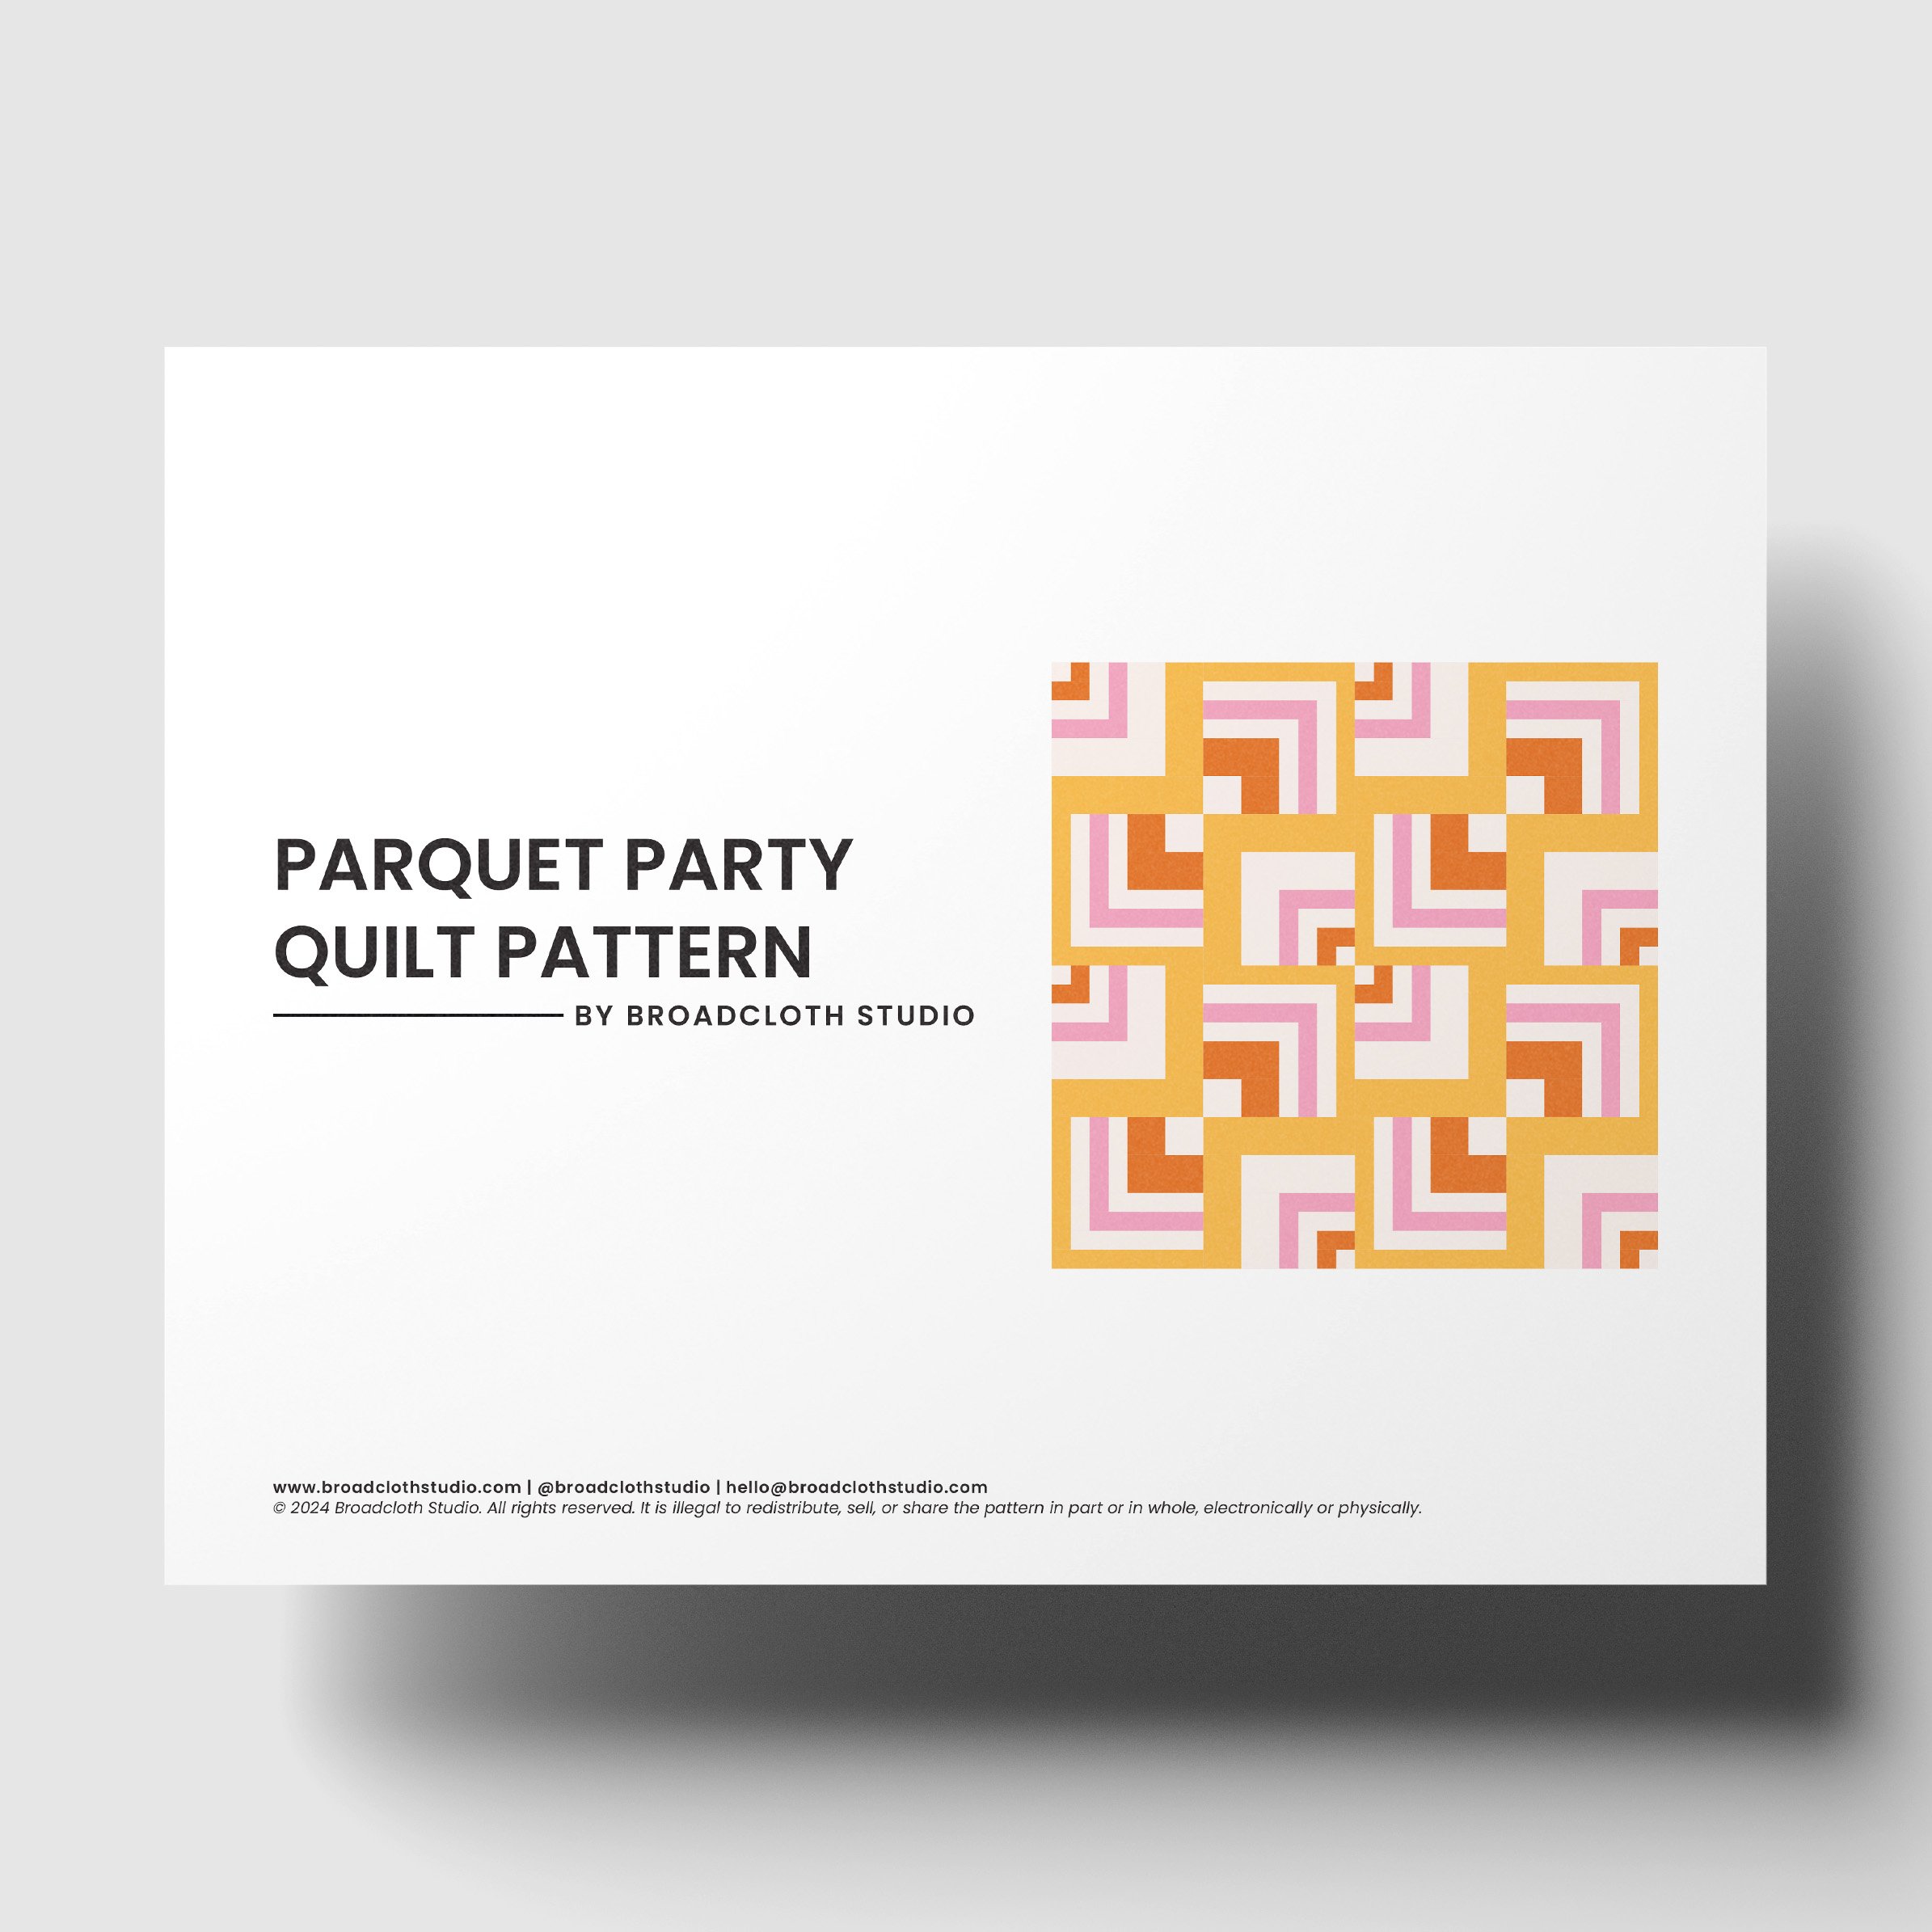
Quilting Adventures Unveiled: The Making of 'Parquet Party'
Hello, quilting friends, and welcome to a behind-the-scenes journey into the creation of my Quarter Log Cabin Block variation pattern – Parquet Party!

In Quilting Adventures, I mention using the book as a launch pad for something totally different than what’s contained within its pages, and that’s exactly what happened when I designed Parquet Party!
I thought it might be fun (and maybe a little bit helpful) to delve into the process inspired by the book, walking through the steps I took to bring the design to life.
From determining layouts to crafting an optical illusion, join me in a trip down memory lane on the creative adventure that brought the Parquet Party to the quiltiverse!
1. Selecting my Layout
I started this adventure knowing that I wanted to play with the idea of a repeated block pattern. I had been working on some other quilt pattern designs that were larger allover designs and I honestly just felt like switching things up.
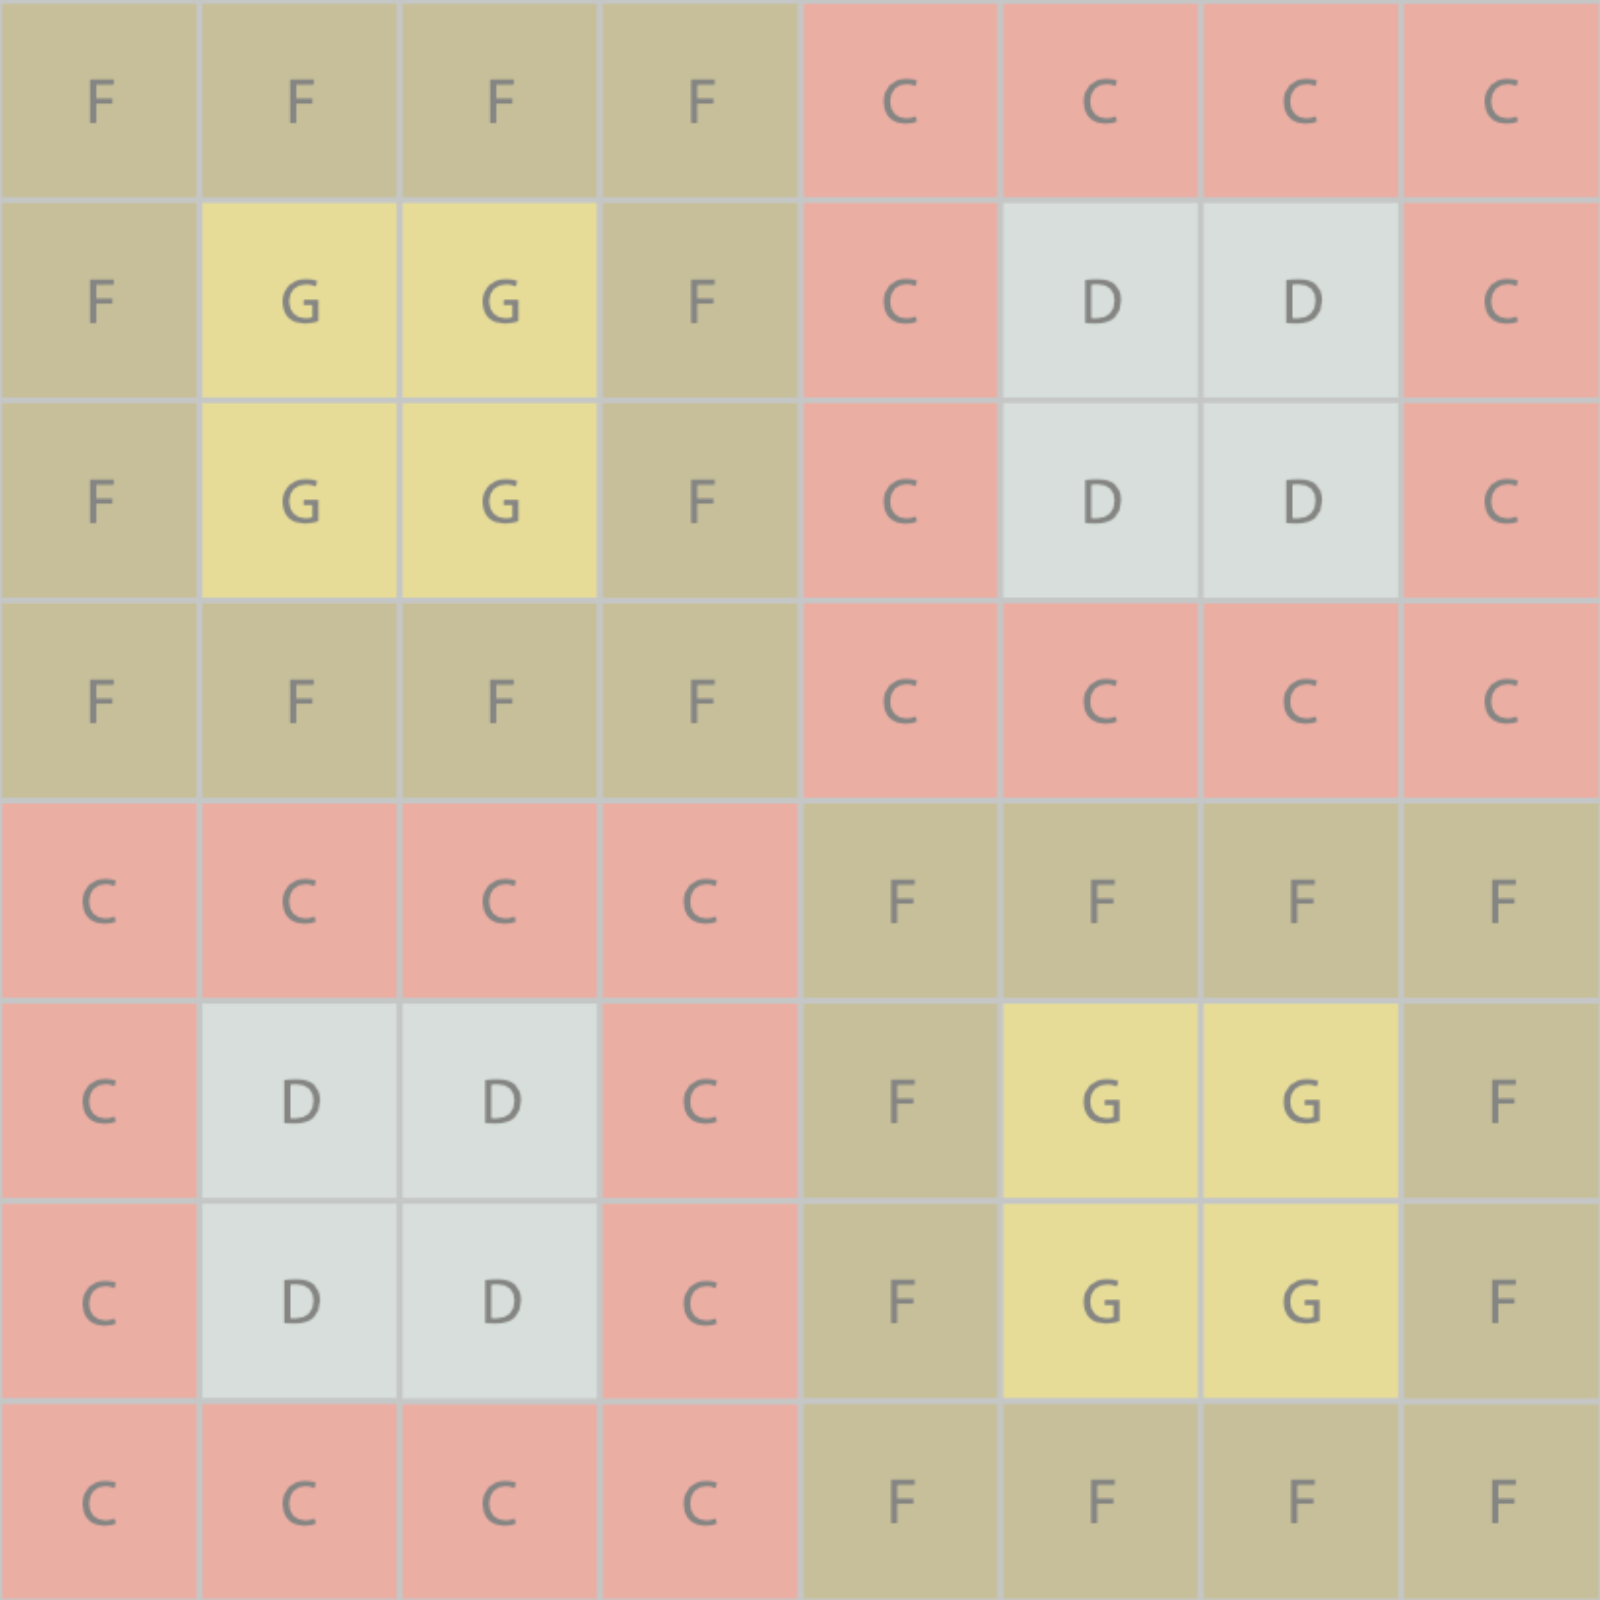
The Quadrants Layout from the book, Quilting Adventures
Knowing this, I figured that “Patches” and “Quadrants” would be the best Quilt Top Layouts for my plans. And as I was a little worried that Patches would tempt me to come up with multiple star layouts (I didn’t think I could resist!), I went with Quadrants because of its larger underlying structure.
In addition, in the Case Study patterns, my Quadrants Sample played with the idea of the blocks connecting across the patchwork and I wanted to continue to explore that idea.
Once I settled on my quilt top layout, I pulled up PreQuilt to start playing with my blocks!
Don’t forget to check out all the different resources in the book’s digital download section — whether you’re using PreQuilt, Adobe Illustrated, Canva, or going analog and cutting out the blocks, all the materials for your design exploration can be found here.
2. Deciding on my Blocks:
I’d been on a Log Cabin quilt block kick recently and I wasn’t quite ready to switch gears, so I focused in on all the L-Shape blocks of the book. Specifically, I zeroed in on Block 07 and Block 13. From there, I just started to play, switching different blocks in an out, focusing on connecting the blocks visually across the patchwork.
And then I went off-script…well, off-manuscript!

The blocks that started it all…
3. Creating New Block Variations
With Block 13, I really loved the mix of log widths and I wanted to layer more logs to expand on that idea. Between it and Block 07, I had both the starting inside of a Quarter Cabin block and the outer corner, but I just needed to extend them! Nothing was an exact fit to create a perfect “connection” across the patchwork, so I started modifying a couple of blocks.
I took Block 02 and extended the length of the squares (I also could have also taken Block 01 and doubled the width of the stripes).
Then I took Block 13 and added in another “inner” square to create a traditional even and balance Quarter Log Cabin quilt block.

My final selection of blocks, including two direct from the book and two updated versions
4. Building Larger Four-Block Units
With the original Blocks 01 and 07, plus my updated Blocks 13 and 02, I now had enough variations to play with, and layer and rotate. And from playing around with the different combinations, I came up with my two blocks variations (what would become Block A and B in Parquet Party).

The final Parquet Party quilt blocks
5. Rotating Blocks for Optical Illusion
At this point, I was still using the Quadrants layout as my underlying structure. But as I rotated my blocks this way and that, I thought “what if I broke this up and created the optical illusion of layered squares?” I gave it a whirl and immediately fell in love with the layout.
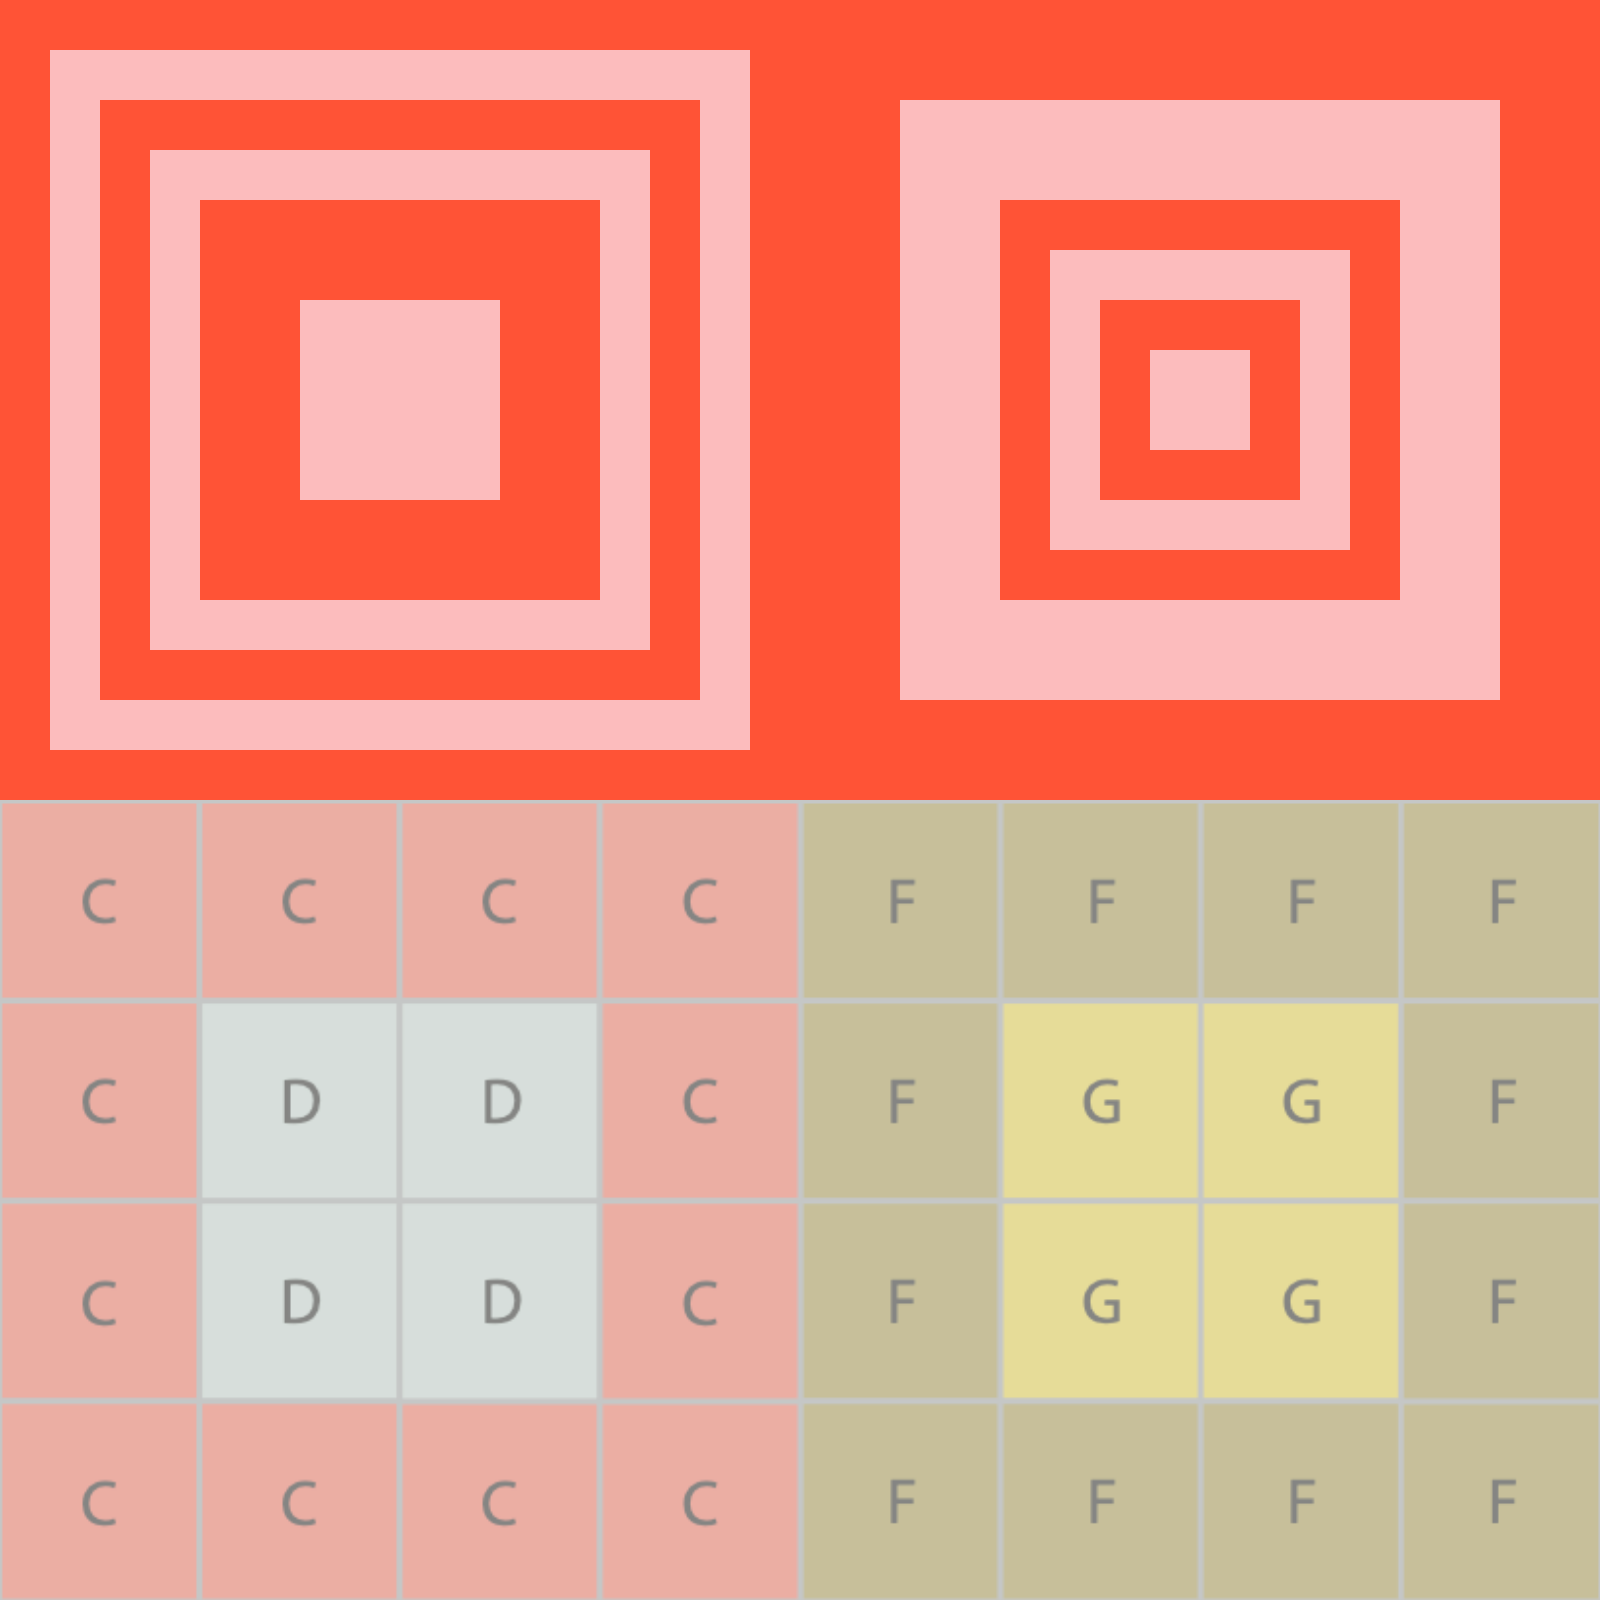
The underlying Quadrants Layout

Slicing, rotating, and layering the blocks

The filled in Quadrants Layout

The final version!
6. Layering in more Color options
When beginning this process, I started out using only two colors. This limited color palette really helped me to focus on the underlying patchwork pattern and it is generally how I like to work.
But once I had my layout set, I started to play with the colors. And then I thought to try adding in more fabrics to the “outer” logs and alternate with a single color to create the sense of a background fabric. It was pretty psychedelic to my eye and I couldn’t resist including it in the pattern alongside the original two-color version!
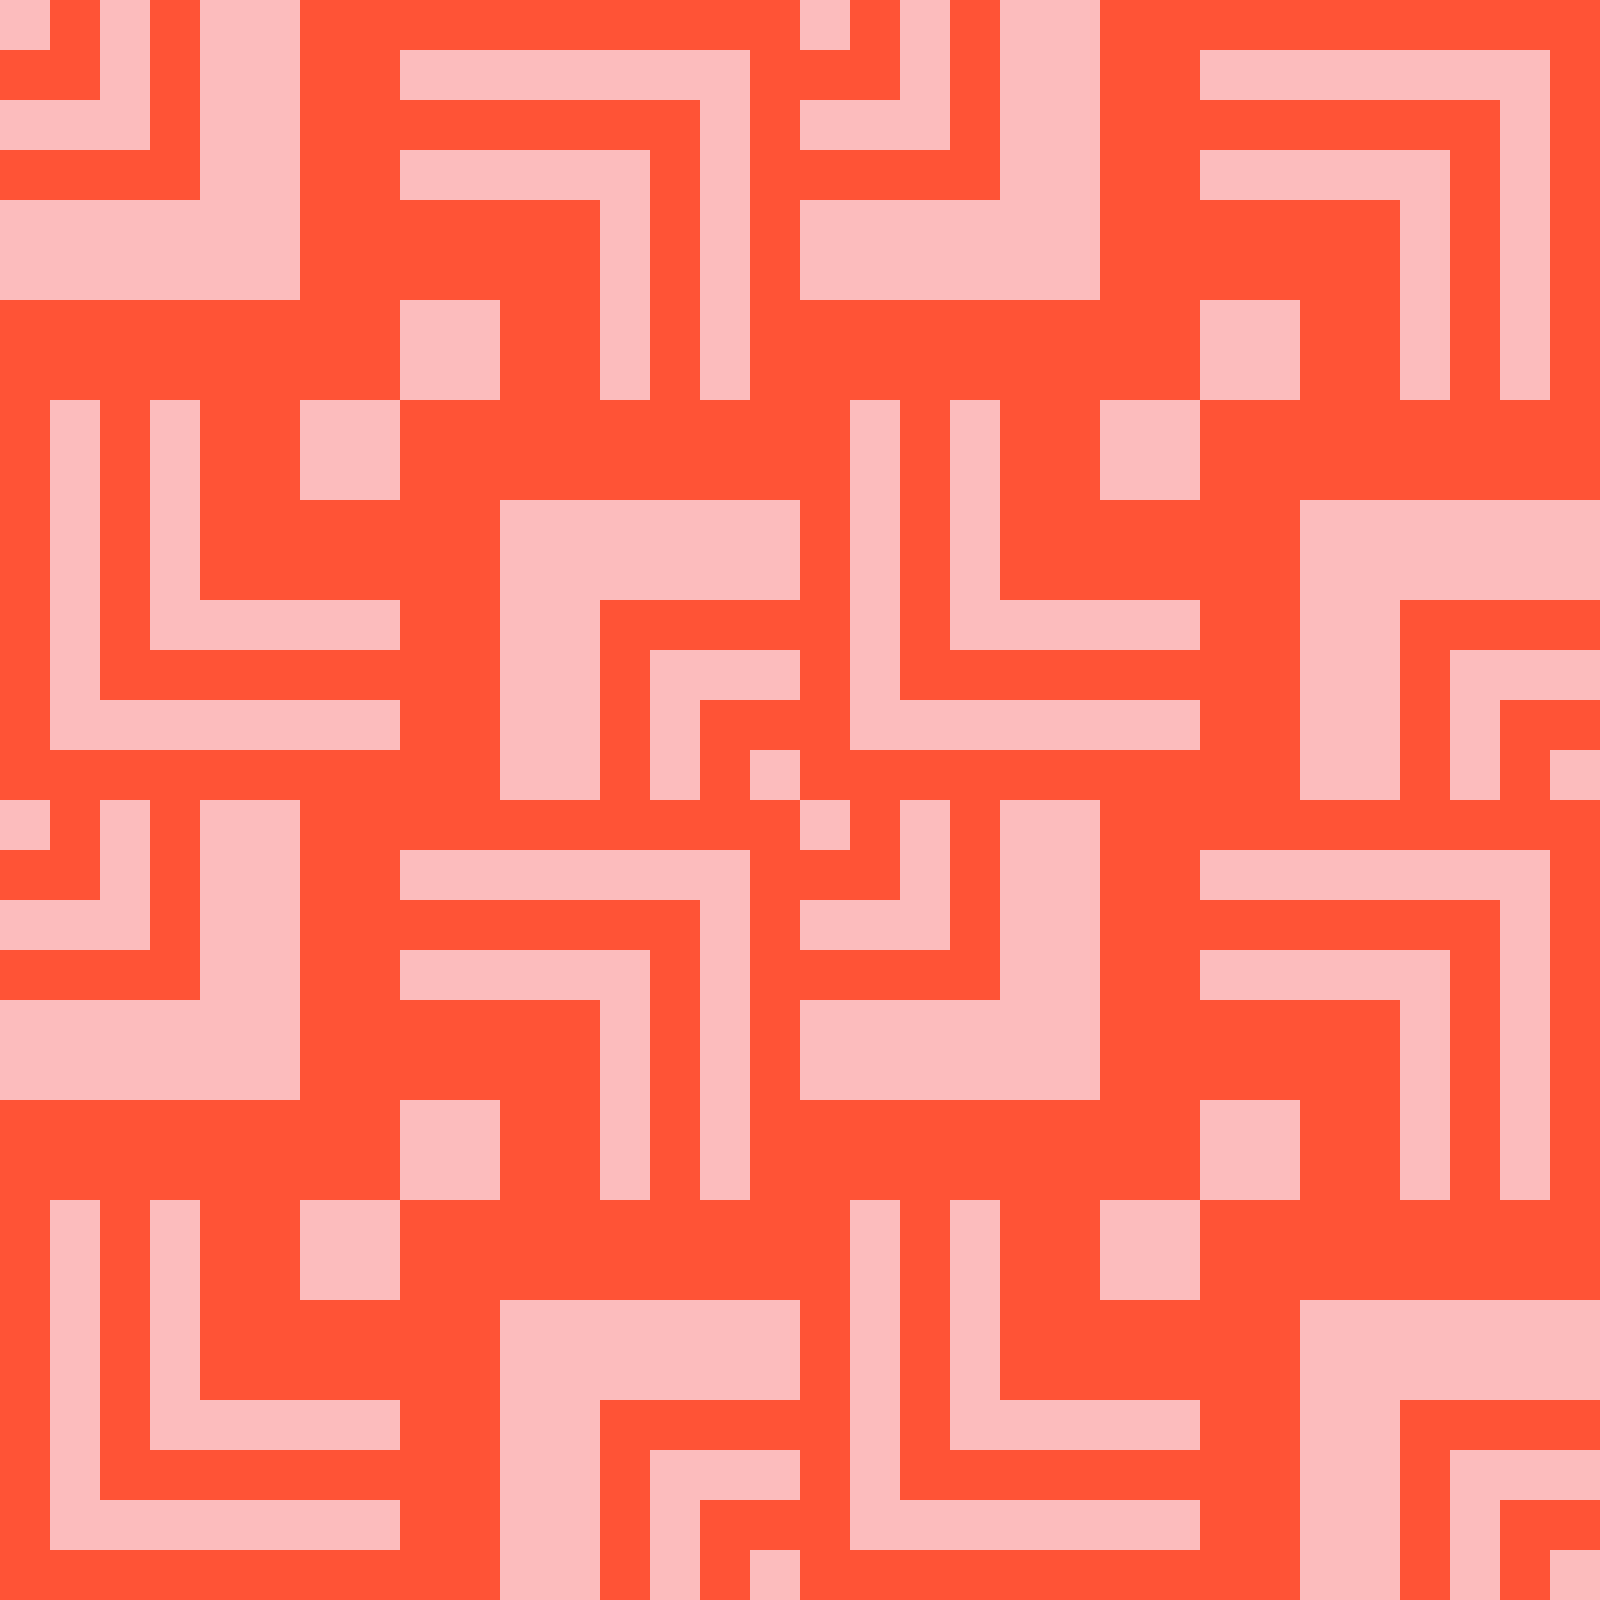
The Original Two-Color Parquet Party

And the Multi-Color Parquet Party Version
7. Time for some tidying (and the math)
Once I had my layout, I started to “tidy up” the patchwork to make the cuts and seams more efficient, then I dove into figuring out the math and more…but that’s another story for another time!
The birth of 'Parquet Party' was a wild ride inspired by the patchwork journey of Quilting Adventures. From layout decisions to optical illusions, every step was a dance of creativity guided by the spirit of experimentation and variation.
So, whether you want to try going off-road using Quilting Adventures as a launching off point or whether you’re up for busting out a patchwork dance move with making your very own Parquet Party, let your creativity run wild!

You May Also Enjoy These Quilting Tips and Guides:


