10 Ideas for a Fun & Fabulous Scrappy Patchwork Quilt Back

Throw-size quilts are among my favorites to make, but assembling their backings can feel like a tricky balancing act. I could calculate a smaller column to fit alongside one column of yardage (learn my approach and calculations here), but after piecing the front, I’m usually too tired for precise measurements—I want something easy and fun.
And sure, I could easily piece together two columns or rows of yardage, but that doesn't always meet my need for "fun." Don’t get me wrong, I love a good one-fabric quilt back, but it doesn’t always suit my quilts or my mood.
So, what’s my solution? Scrappy, color-block, patchwork quilt backs!
There are countless ways to create a pieced quilt back. I find that my approach strikes the right balance between fun and simplicity. This illustrated guide will walk you through some of my favorite layouts, offering inspiration for your next (or first!) adventure into the wonderful world of scrappy quilt backings.
A Few Notes Before We Start
First: I don’t over-plan my quilt backs, but I do aim for efficiency. When ordering fabric for my quilt, I round up to cover both the binding and the quilt back.
You might wonder, "How do you know what fabric and how much to order if you haven’t decided on a layout yet?"
Good question! Let’s break down those two big decisions.
Choosing Colors
When it comes to color, I repeat fabrics from the quilt front on the back and often assume that half of the quilt back will be a solid row or column of color (you’ll see this in the illustrations below).
But which color goes where?
I trust my gut! If the quilt top has a "quiet" color palette, I decide whether to continue that subtlety on the back or to use the boldest color from the front as a pop of contrast. If the front is a riot of colors, I might balance the back with something more subdued, or I might continue the party from front to back.
Ultimately, I consider the "feeling" of the quilt and how I want the back to reflect that color story. And to provide that “feeling,” I lean on the fabric that will make up my large L-Shape (see below) and use the other colors as accents.
Estimating Yardage
Once I’ve anchored my color palette with the main large L-shape color, I start by ordering about 2½ - 3 yds of that color.
Then, I round up the yardage of all the other colors I want to use in the quilt back until I have about 3½ to 4 yards for my quilt back accounted for (in addition to the yardage for my quilt top and binding). I round up somewhat randomly, to be honest. After all the effort of selecting a cohesive color palette, I throw caution to the wind a little, assuming that I’ll be able to “make it work” when it comes time to lay out the quilt back!
Why 3½ to 4 yards? This is my back-of-the-envelope math for how much fabric I’d need for a two-row pieced quilt back. Assuming a 42” fabric width, a ½” seam allowance, and 8” of overage: 3½ yards covers a ~55” x 75” quilt, while 4 yards is enough for a ~64” x 75” quilt.
Side Note: I prefer a ½” seam allowance for quilt backs, not just because that’s how I learned, but because the wider seam allowance (pressed to the side) lays beautifully flat when it’s time to lay out my quilt sandwich for basting!
Let’s Talk Layout!
When it’s time to finalize my quilt top layout, I love to lay out my fabrics on the floor or design wall and play around with layout options.
The "secret" to my layouts is maximizing the width of fabric to minimize piecing. That’s why I often use an "L-shape" layout. I start by placing the largest cut first, avoiding cutting into it as long as possible by simply folding over a corner to create the "L." Then, I experiment with the leftover yardage from piecing the front, trying different stripe arrangements. I might shift the "L" to be vertical, create an "L within an L," or even experiment with two opposing "L" shapes.
There are endless ways to play with this configuration! I test different layouts, take photos to compare, and rotate the screen to see how each option looks in different orientations.
Once I find a layout I love, I plan the assembly order, typically starting with the inside of the "L" and finishing with the "L" shape itself. I give each WOF piece a good press before trimming and assembling them, always using a ½” seam allowance for sewing the large pieces together.
10 Patchwork Quilt Back Layout Ideas
For the purposes of illustration, I'm using a hypothetical ~ 72" x 83" quilt back as the canvas for these ideas. I haven't provided precise measurements for the WOF cuts because I don’t want to be prescriptive. The proportions and exact widths of your WOF cuts will, can, and should change depending on your taste and the fabric you have on hand.
And don’t forget to try mixing and matching different ideas from across these layouts to come up with even more ideas!
1. Three Color Mix

This three color layout breaks down…

…into these blocks of fabric!
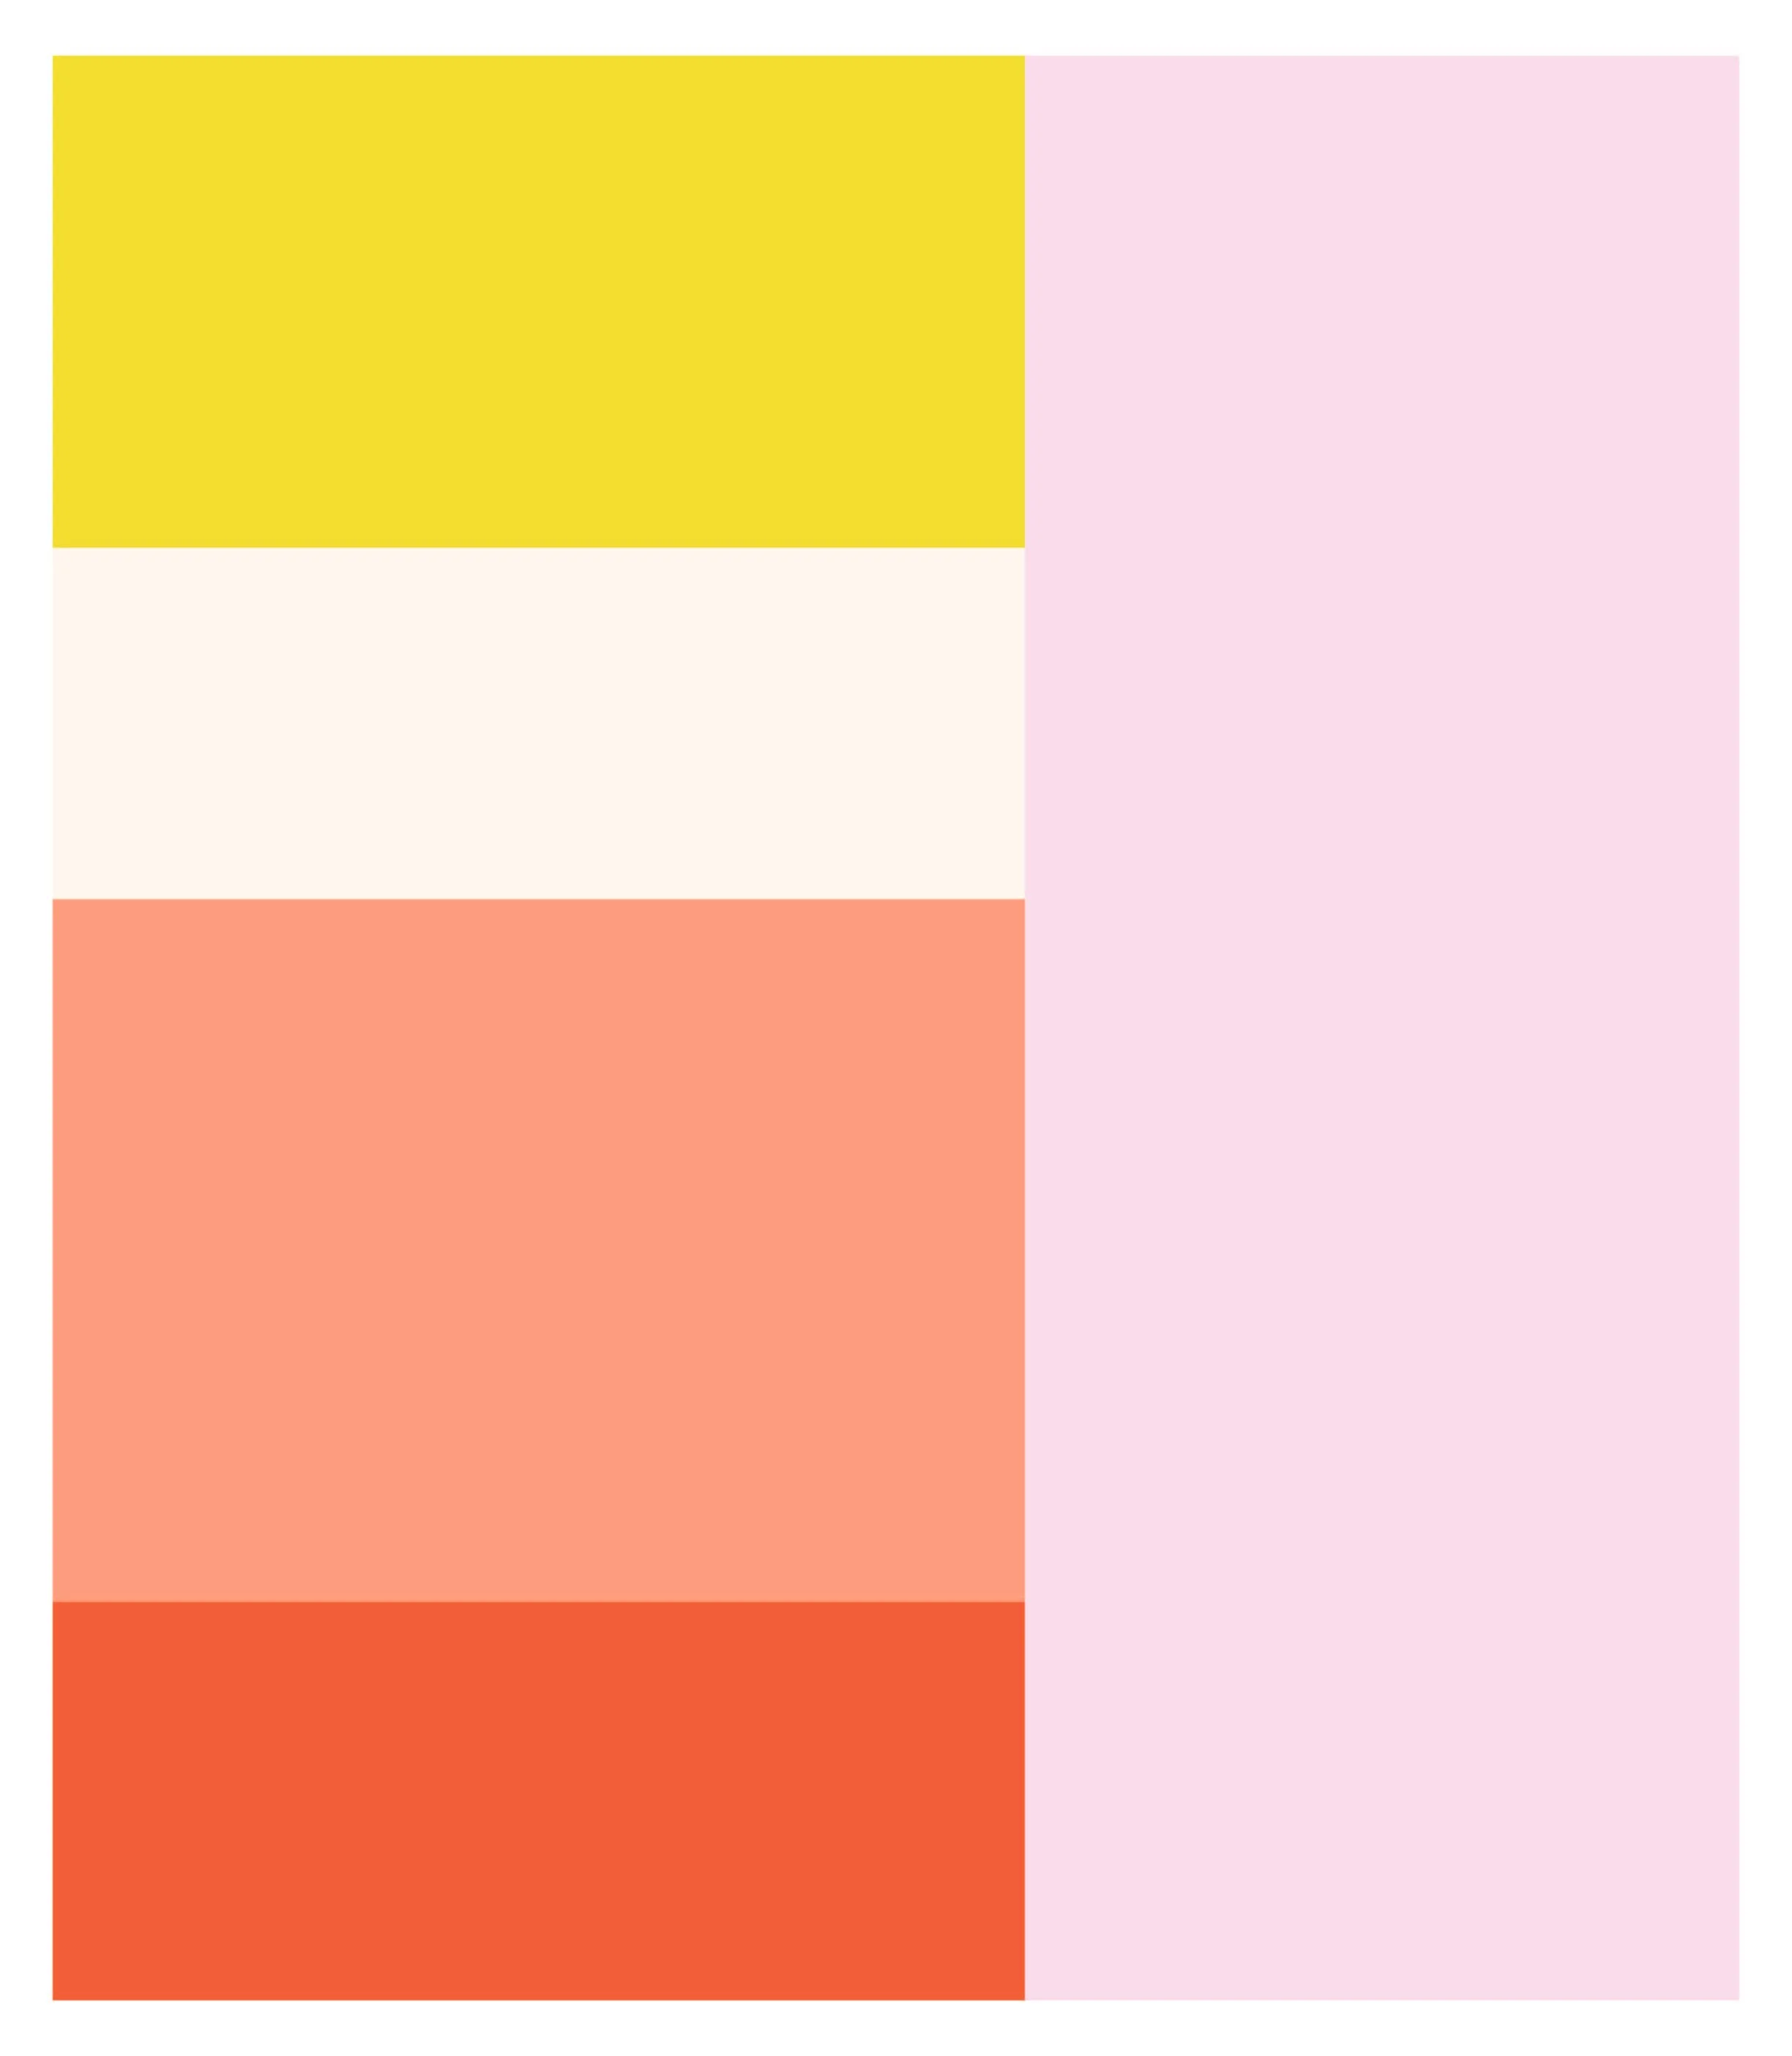
2. Three Stripes + L-Shape

This four color layout breaks down…

…into these blocks of fabric!
3. One vertical + Two Horizontal Stripes

This four color layout breaks down…

…into these blocks of fabric!
4. A Mix of Four Stripes

This five color layout breaks down…

…into these blocks of fabric!
5. A Mix of one Vertical + three Horizontal Stripes

This five color layout breaks down…

…into these blocks of fabric!
6. Horizontal Stripes in Two Nested L-Shapes

This five color layout breaks down…

…into these blocks of fabric!
7. Two Interlocked L-Shapes + stripes

This five color layout breaks down…

…into these blocks of fabric!
8. Cascading L-Shapes + Horizontal Stripes

This five color layout breaks down…

…into these blocks of fabric!
9. Two L-Shapes surrounding Horizontal Stripes

This five color layout breaks down…

…into these blocks of fabric!
10. Giant Horizontal Stripes In an L-Shape

This four color layout breaks down…

…into these blocks of fabric!
11. and here’s one more (non L-shape) for good measure!
This five color layout breaks down…

…into these blocks of fabric!
Last, but not least, have fun!
I hope this little peek into my scrappy quilt back assembly has sparked some creativity! Making the back just as fun as the front is one of my favorite parts of quilting. If you’re curious to see more of my quilt backs or want some extra inspiration, hop over to my social media and take a look at what I’ve been up to.
You May Also Enjoy These Quilting Tips and Guides: