

How-To Make a Classic Scrappy Log Cabin Block

Log Cabin quilt blocks are an absolute joy to make! I’ve pulled together some of my favorite classic layouts to share with you, including this scrappy one!
Each block finished at a generous 14” and their 2½” wide pieces are jelly roll friendly (or a great way to put binding scraps to work!).
And to make it even easier to follow along, I’ve created a printer-friendly one-page PDF that you can download by signing up below!
Each one pager explains in step-by-step detail the pieces you’ll need and how to build your block, but if you’re looking for complete instructions for a Crib, Throw, Twin, Full/Queen, or King size quilt, you can find the arrangement in the shop.
How to Make a Scrappy Classic Log Cabin Quilt Block
Fabric Requirements
Before you begin, you’ll need the following fabric pieces:
Fabric A: 2½" x 12½" (1); 2½" x 14½" (1)
Fabric B: 2½" x 8½" (1); 2½" x 10½" (1)
Fabric C: 2½" x 4½" (1); 2½" x 6½" (1)
Fabric D: 2½" x 2½" (1)
Fabric E: 2½" x 2½" (1); 2½" x 4½" (1)
Fabric F: 2½" x 6½" (1); 2½" x 8½" (1)
Fabric G: 2½" x 10½" (1); 2½" x 12½" (1)
Step-by-Step Assembly
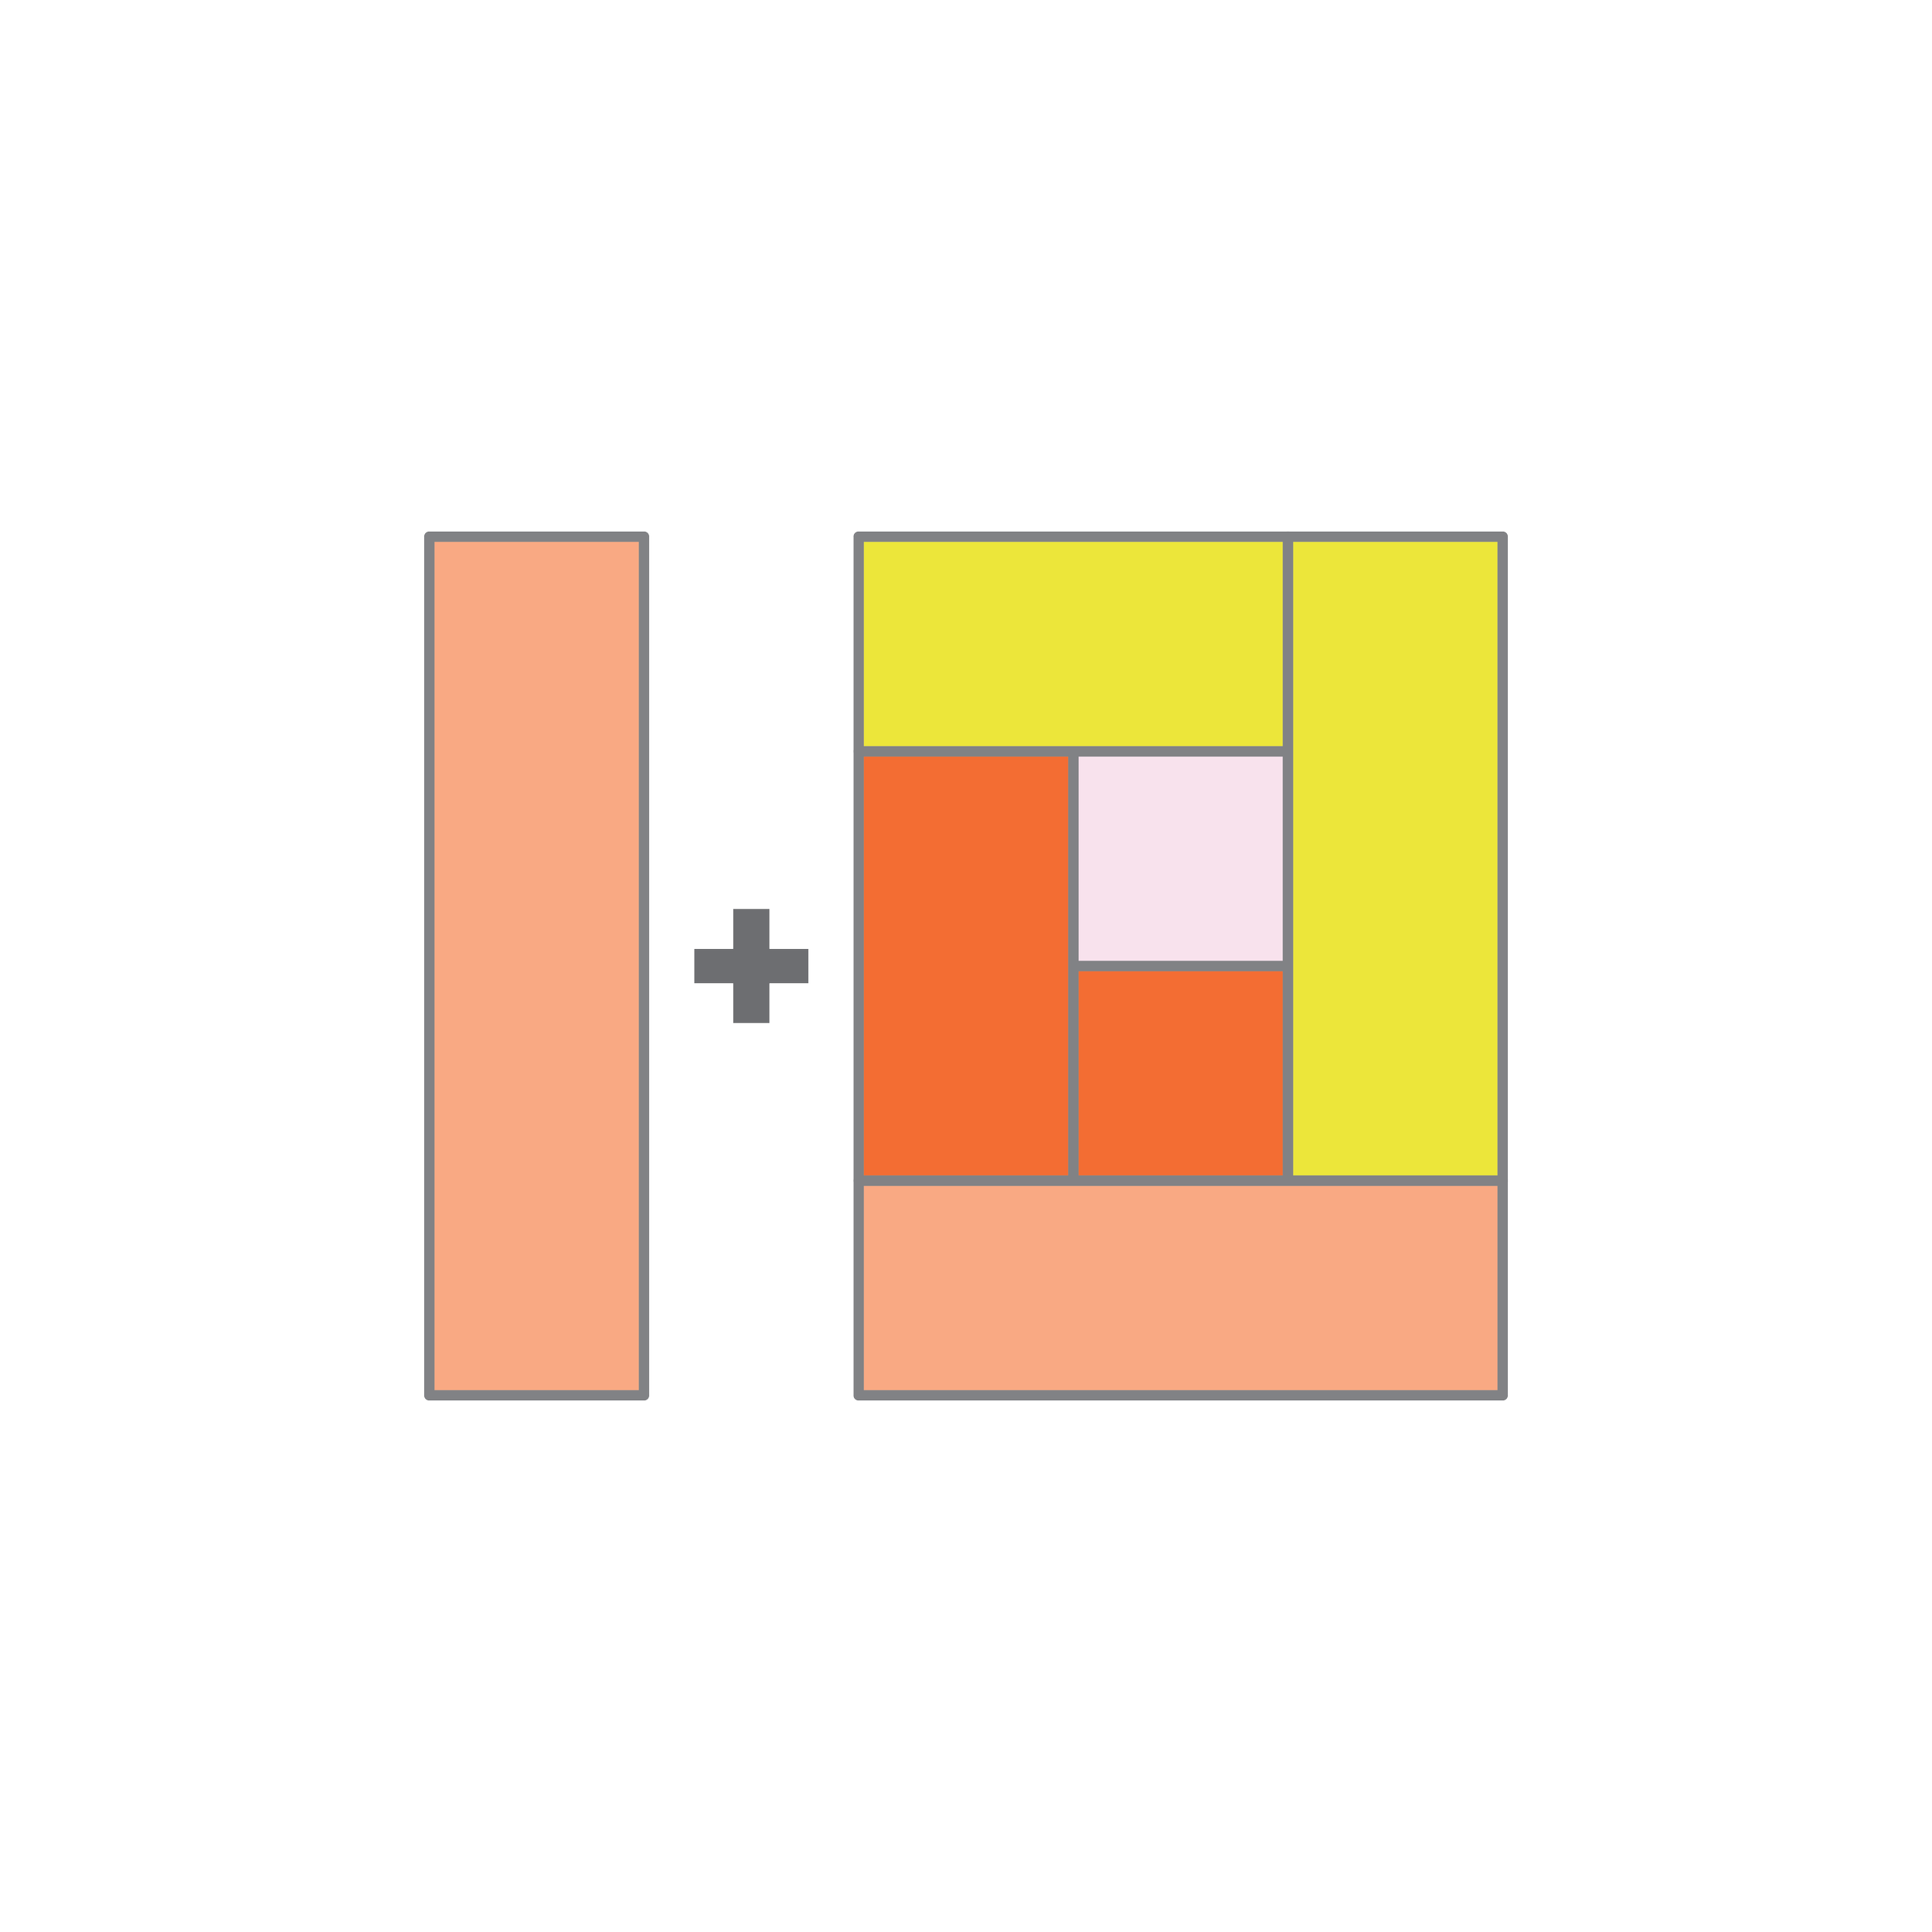
To construct your blocks, follow the steps below, referring to the illustrations and ironing your seams between each step.
Step 1: Sew (1) Fabric E 2½" x 2½" piece to the bottom of the (1) Fabric D 2½" x 2½" piece

Step 2: Sew (1) Fabric E 2½" x 4½" piece to the left of the unit

Step 3: Sew (1) Fabric C 2½" x 4½" piece to the top of the unit

Step 4: Sew (1) Fabric C 2½" x 6½" piece to the right of the unit

Step 5: Sew (1) Fabric F 2½" x 6½" piece to the bottom of the unit

Step 6: Sew (1) Fabric F 2½" x 8½" piece to the left of the unit
Step 7: Sew (1) Fabric B 2½" x 8½" piece to the top of the unit

Step 8: Sew (1) Fabric B 2½" x 10½" piece to the right of the unit

Step 9: Sew (1) Fabric G 2½" x 10½" piece to the bottom of the unit

Step 10: Sew (1) Fabric G 2½" x 12½" piece to the left of the unit

Step 11: Sew (1) Fabric A 2½" x 12½" piece to the top of the unit

Step 12: Sew (1) Fabric A 2½" x 14½" piece to the right of the unit

And you’re done!

If you’d like a printer-friendly version of these instructions, just sign up with your email below to get the FREE one-page PDF version:
Next Steps: Turn it into a quilt!
Now you’ve made your first block, it’s time to make a couple more to make a quilt! Here’s how many I would sew to make the following quilt sizes:
Crib (42" x 56"): 12 blocks
Throw (56" x 70"): 20 blocks
Twin (70" x 98"): 35 blocks
Full/Queen (98" x 112"): 56 blocks
King (112" x 112"): 64 blocks
And there’s more: an alternative layout!
If you decide not to use all the colors in a single block, you can just use two-colors per block…and then mix it up across the quilt top. It’s like a wild and crazy color-block version. To help visualize what this option could look like, make sure to check out the FREE digital coloring sheet over on PreQuilt that illustrates the throw size.
Looking for more classic quilt block fun?

Each one pager explains in step-by-step detail the pieces you’ll need and how to build your block, but if you’re looking for complete instructions for a Crib, Throw, Twin, Full/Queen, or King size quilt, you can find a selection of classic quilt block arrangements in the shop, including for this classic block layout!